 RetireFlo Resources
← All tutorials
RetireFlo Resources
← All tutorials
Adding or Changing Your Headshot
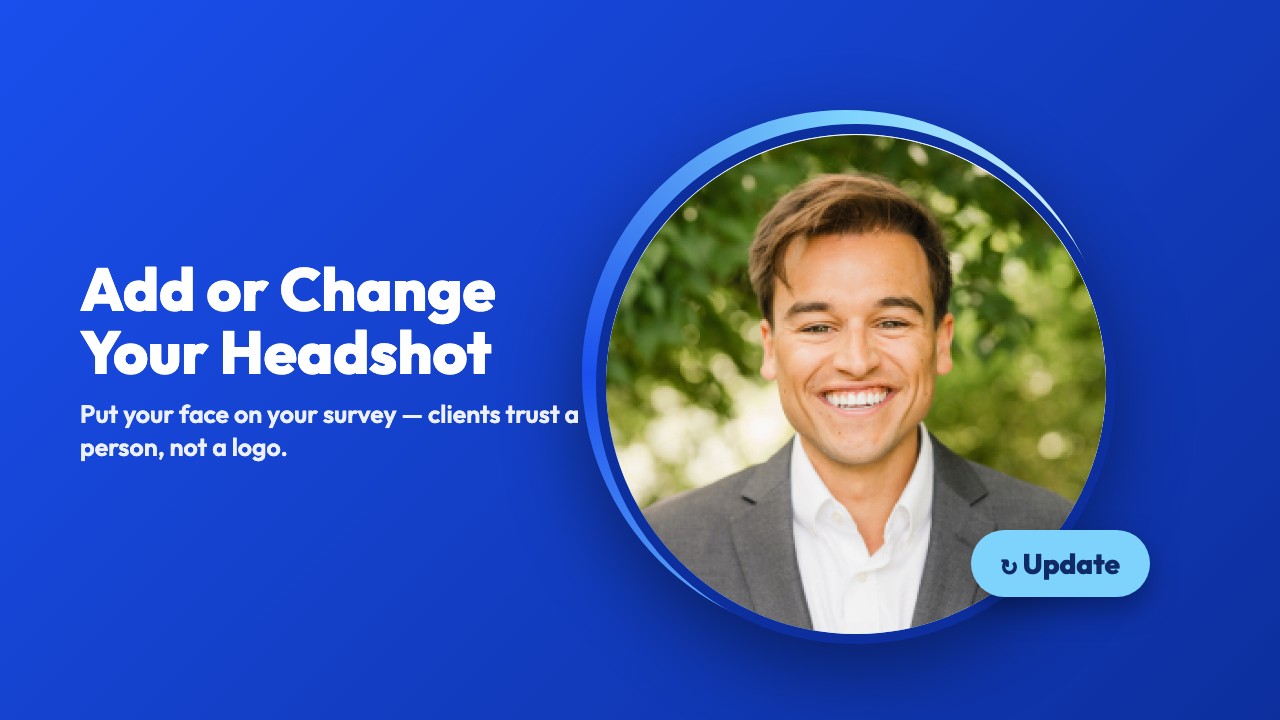
Your headshot is the first thing a client sees when they open your survey — it's what makes it feel like you reached out, not a piece of software. Adding one (or swapping in a better one) takes under a minute.
Go to your RetireFlo Dashboard
Log in at RetireFlo.com — your surveys are listed on the Dashboard under Your surveys.
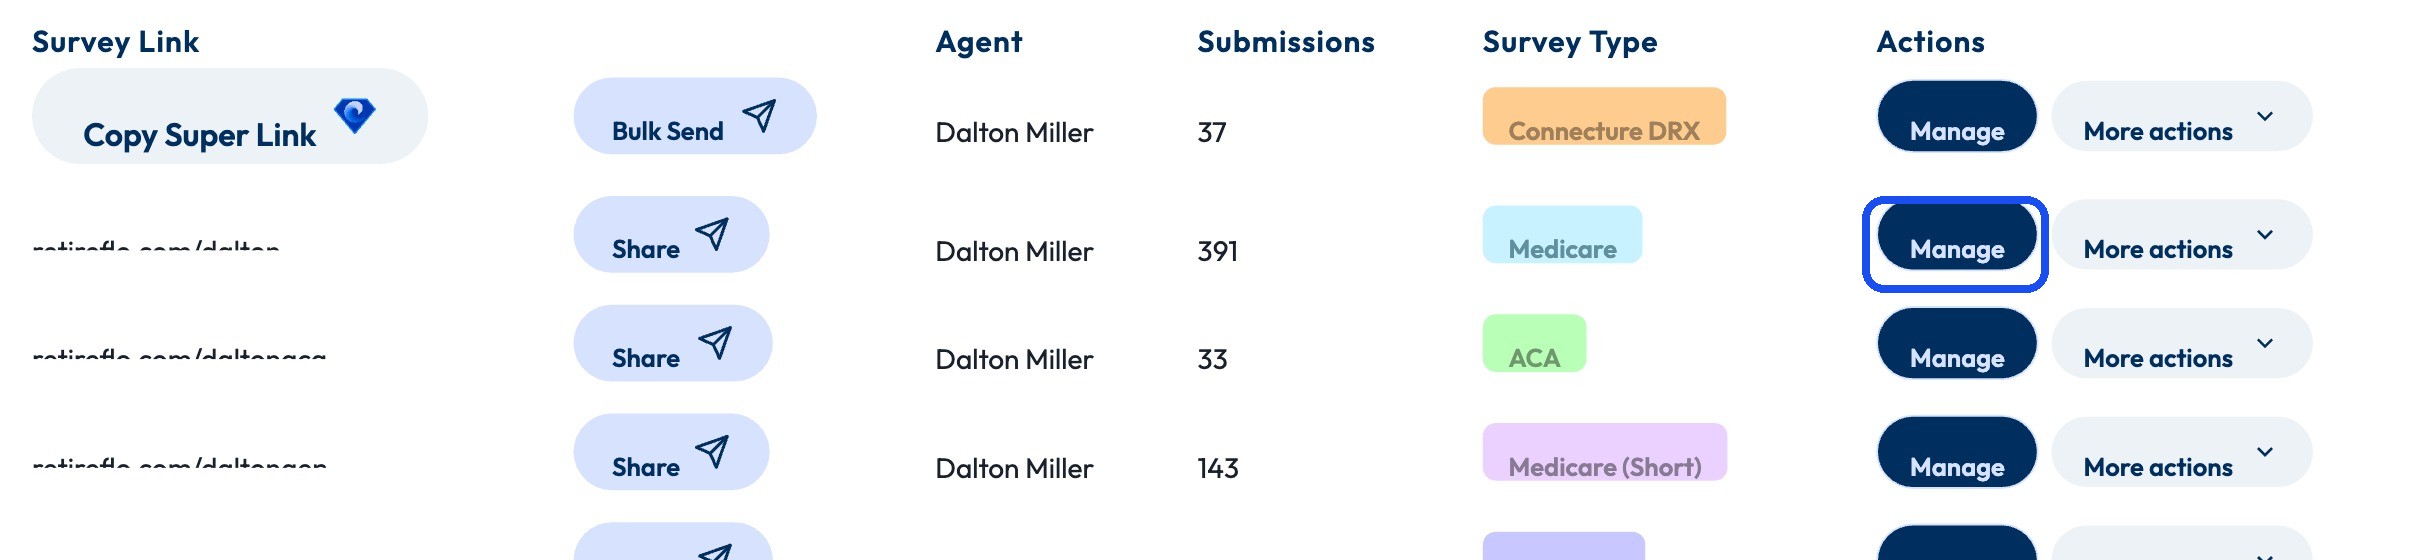
Press “Manage” next to your survey
Click Manage on the right side of the survey's row.
Click “Update” under Headshot
It's the very first thing on the Edit Survey page under Survey information. Click Update and pick a photo from your computer — a file-picker window opens, choose the image, and it uploads. Prefer no photo? Remove clears it.
File size limit: 5 MB. If your headshot is a very high-resolution file (professional photos often are), the easy fix is to open the photo on your screen and take a screenshot of it, then upload the screenshot — it looks just as sharp on the survey and comes in well under the limit.

Save your changes
Hit Save changes at the top of the page and you're done.

Good to know
- Why the 5 MB limit? Smaller images mean your survey loads fast for beneficiaries — many of them are on phones or slower connections, and a snappy survey is a completed survey.
- Use a real, friendly photo — a clear headshot with a smile, shoulders up. Clients open surveys from people they recognize.
- Square works best — the photo displays in a circle, so a square image (or one where your face is centered) crops cleanly.
- Per-survey setting — if you run more than one survey, update the headshot on each.
- Team accounts: each agent's survey carries their own headshot, so the client sees the person they'll actually talk to.
Still stuck?
Grab a time with the RetireFlo team and we'll walk through it with you — or ask the community, someone's always online.